A DIY Incubator
For Less Than $40!
View all of my DIY incubator updates.
Itchy to give hatching my own eggs a try but short on cash and shocked at the $250 to $300 +taxes and shipping price tags on the “inexpensive” styrofoam commercial incubators, I decided to try to build my own. The parts for this incubator cost me just $36 including taxes. It may cost you a little more or a little less depending on whether or not you hold onto to “junk” for a rainy day project like I do. That’s a substantial savings, even if you do have to buy a few more pieces than I did!
Now, building incubators is not something I can say I had ever done before or had any idea how to do when I decided that I wanted to build one but, with YouTube University and endless blog posts courtesy of the internet on my side, I felt emboldened to give it a try. There have been lots of things since I started this homesteading journey that I had never done before but succeeded at so my confidence (and openness to royally screwing things up while learning) is growing. Homesteading is honestly really great for that.
I’m not going to lie, there was a ton of trial and error here. My original plan didn’t work because of a faulty water heater thermostat that I bought and tried to use so I had to research some more to come up with a new plan and redo it all. I didn’t realize the thermostat was faulty at first and tried to make it work for a LONG time without success. I almost threw in the towel before I figured out it was the thermostat that was the problem and not me and went back to the drawing board. That’s ok though because I didn’t quit and the digital controller I replaced the original thermostat with means it’s WAY better now than it was to start with. Plus I learned a ton fixing mistakes and redoing things.
A Work In Progress
Lots and Lots of Wires!
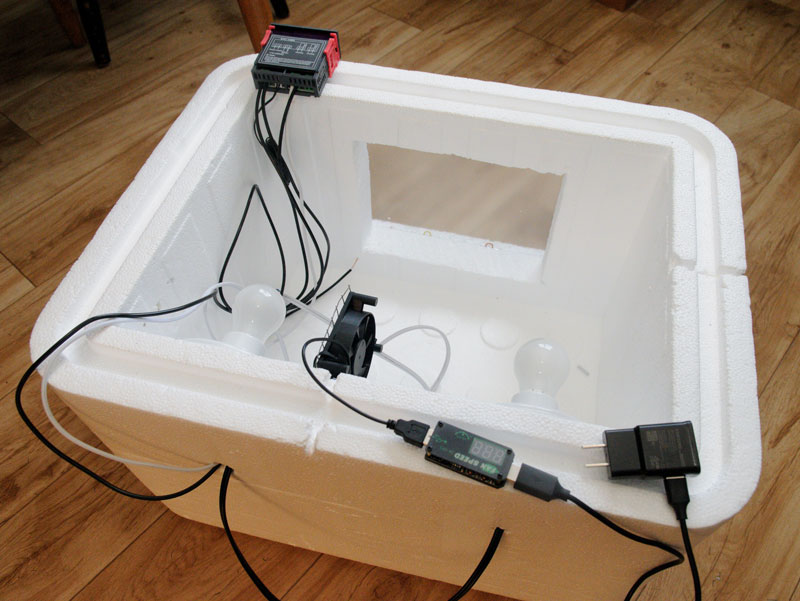


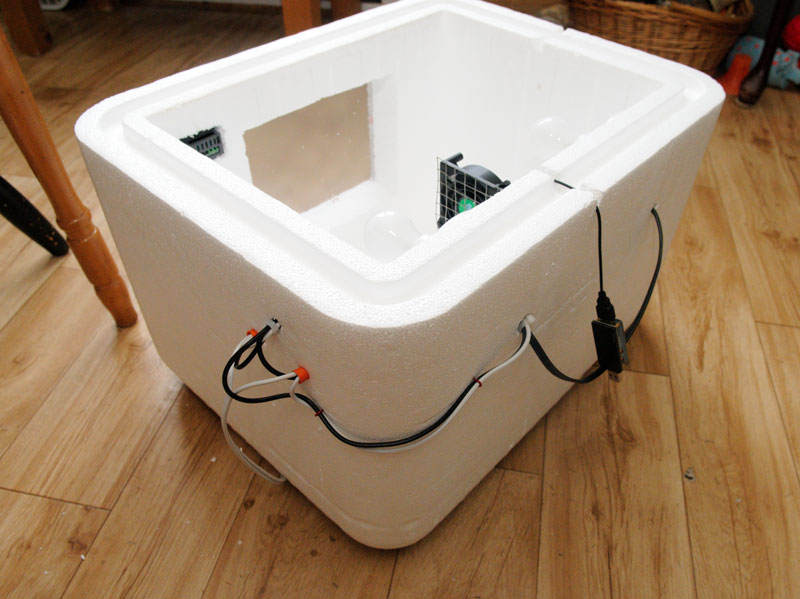
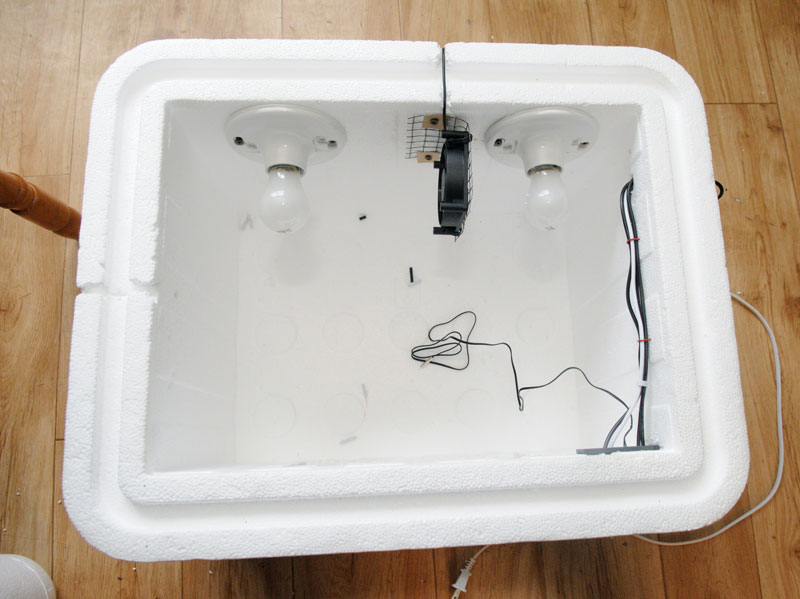
How It WOrks
A Non-Technical Explanation
The light bulbs provide heat for the incubator and the temperature controller tells them when to turn on or off to maintain the proper temperature. Once the incubator is up to temperature (which takes less that 5 minutes) the lights go through a cycle of about 20 seconds on and 2 minutes off to maintain that temperature. There is a fan that blows across one of the light bulbs to circulate the air and prevent hot spots in the incubator. It is wired separately so that it runs constantly whether the lights are on or off.
Humidity is added via a small divided container filled with water and a kitchen sponge and placed under one of the light bulbs. I’ve attached a small funnel I found in the kitchen junk drawer to a piece of airline tubing I had bought for a fish tank we used to have and then ran the tubing through a hole in the side of the foam box to add more water without opening the lid. To start I only fill the smallest side of the divided container with water. This is also the side that the sponge is in. To add more humidity, I simply fill the other side of the container as well. A larger surface area of water equals more humidity. I plan to pick up a large syringe this week as well so that I can remove water through a tube to remove humidity without opening the lid (should that ever be something that needs to be done).
Two 5/8″ holes have been made in the lid and several smaller holes around the bottom to allow air exchange. The larger holes in the top are plugged with salt and pepper shaker plugs when they are not needed to be opened. The smaller holes around the bottom are always open.
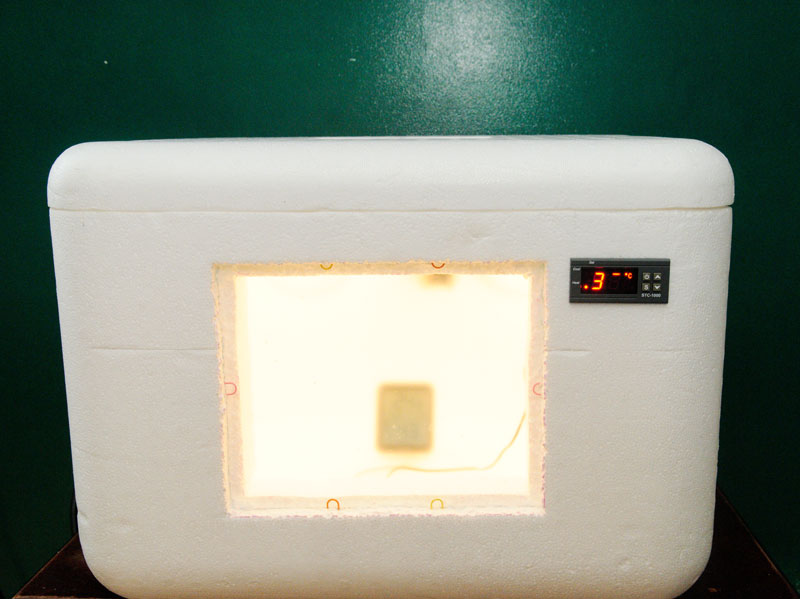
The viewing window in the front is a pane of thick 8×10 glass that my father-in-law had collected a box of at some point in his lifetime. You could also use a piece of glass from an old picture frame but picture frame glass is thinner. The glass rests against a styrofoam lip on the back and is held in place with paperclips cut in half and pushed into the styrofoam on the front. I used paperclips cut in half to help tidy and secure all of the wiring as well. They work great for this, like big staples!
I had plans to build an egg turner for this incubator, and actually it’s half finished, but ultimately I decided to turn the eggs manually for this hatch. A bigger and better opportunity fell into my lap (details on that at the end of this post) and after this first hatch, this incubator will be used only for lockdown. Lockdown is the last three days of the incubation period where you literally lock down the incubator and stop turning the eggs while you wait for them to hatch. With that being its use going forward, the egg turner will not be necessary so I decided to just turn the eggs myself for this one time. Next time I hatch eggs it should be in something MUCH larger and fancier. Again, details on that at the end of the post.
It’s Alive!
How it Looks Now That it’s Done
Please note that the incubator is not up to temperature yet in these photos. I had just plugged it in and the lid is off so the temperature is quite low.

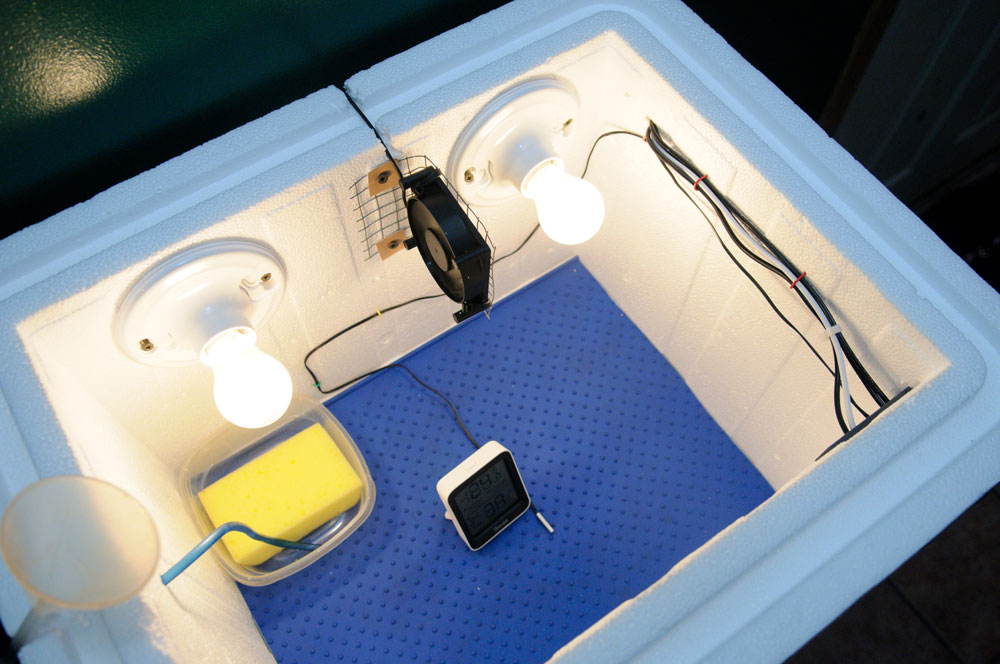
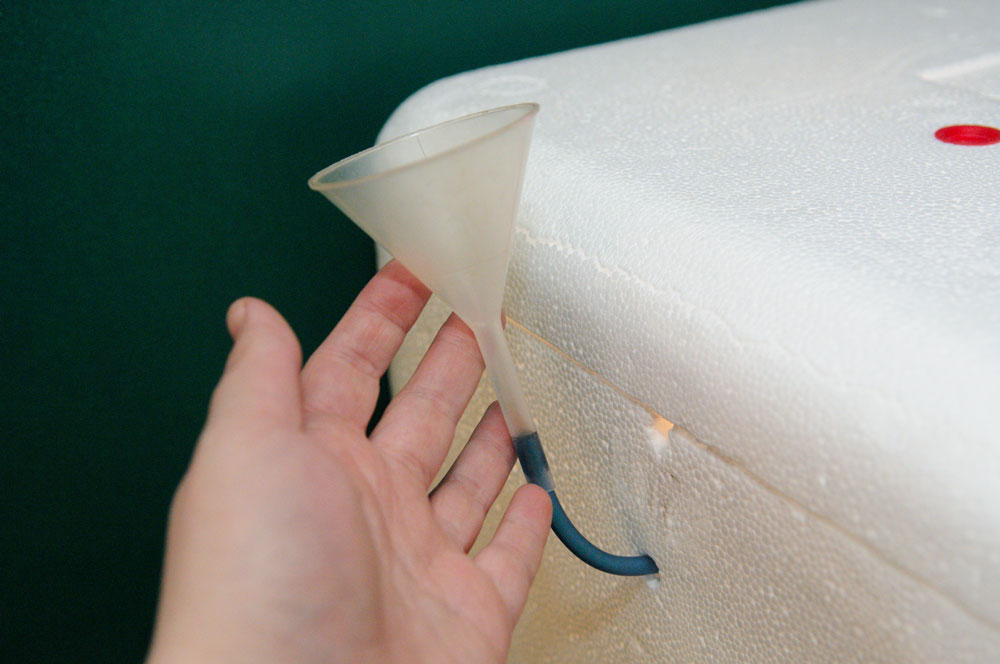
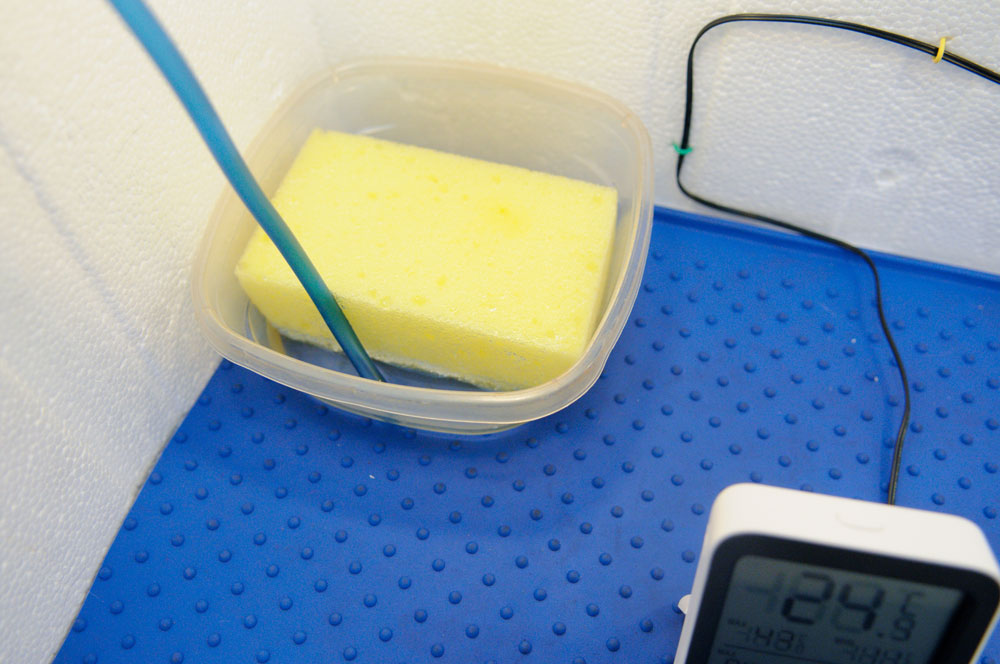
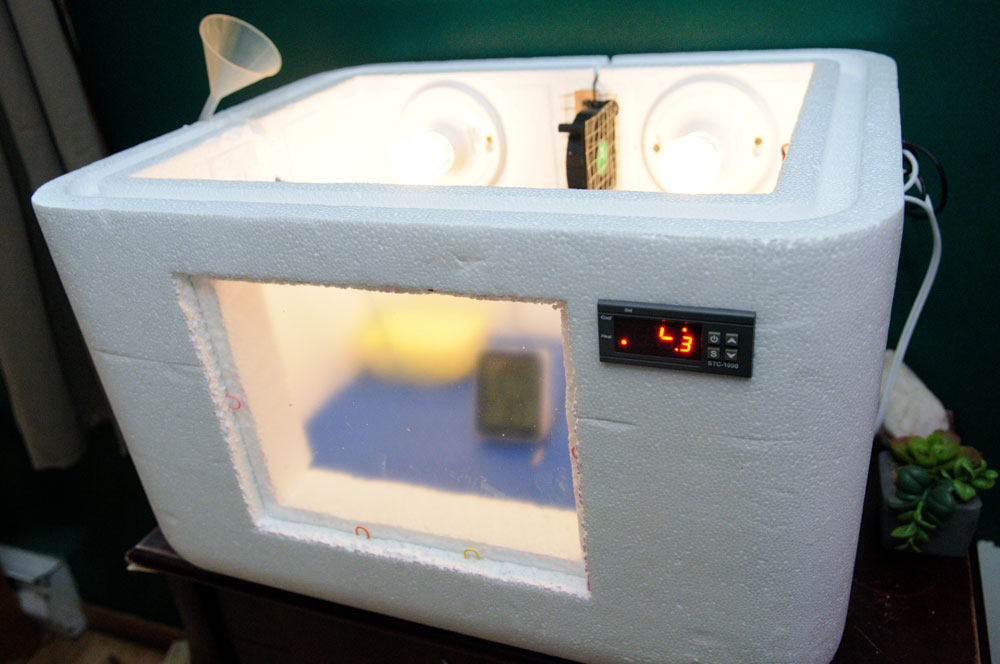
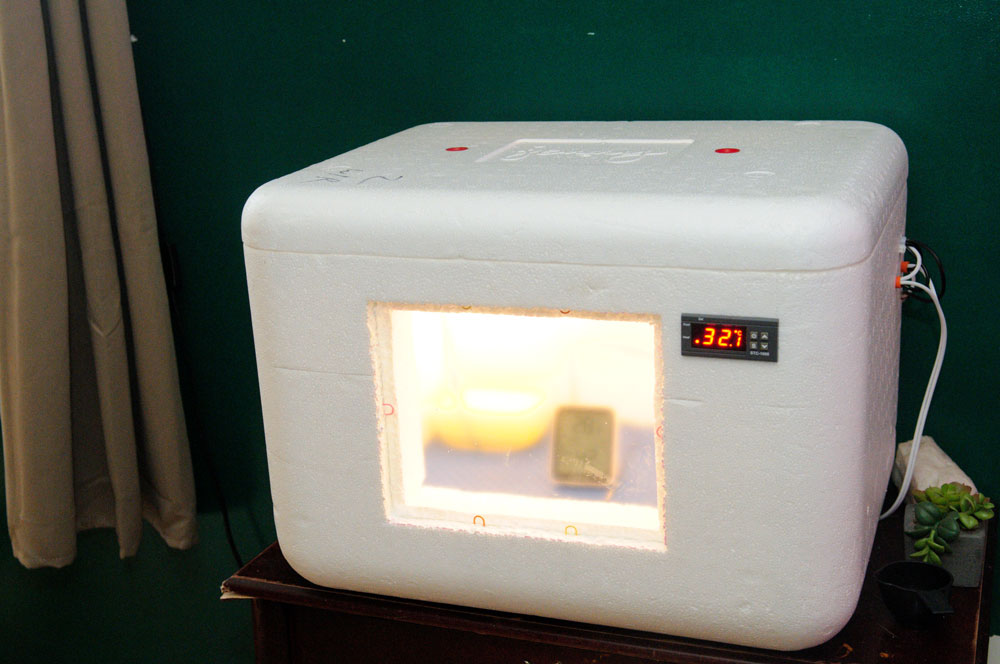
Incubator Ingredients
Most of this i found lying around the house
A large styrofoam cooler I found on Facebook Marketplace.
Two light bulb bases and bulbs.
A digital temperature controller.
** A hygrometer.
A USB powered fan and power block to plug the cord into.
An electrical cord off of a broken fan, some bits of wire and marettes/wire nuts.
A piece of 8×10 glass.
A small divided container and a sponge that fits inside.
A short length of tubing and a funnel to fit inside the end of it.
Two salt and pepper shaker plugs.
A small piece of hardware cloth.
Paperclips, screws, cable ties and washers (I used cardboard in place of washers).
Patience… lots and lots of patience!
** In place of the hygrometer on the list above, I actually purchased a digital thermometer/hygrometer combo unit that connects to my phone and allows me to keep an eye on temperature and humidity trends over time. It will also send an alert to my phone if the temperature or humidity is over or under the values I set so that I know to go check on things. This works over Bluetooth so I do have to be home for the alerts to come through to my phone but I’m usually here anyway so, for me, that’s not a big issue.
The Disclaimer
It’s Effectiveness Still Needs to be Proven
I haven’t tested this thing with eggs yet, I’m picking those up next weekend (April 16th) but while I’ve been running it empty to make sure there are no issues it has been maintaining temperature and humidity exactly where I want it with only 0.2 degrees Celsius of fluctuation in temperature and the humidity staying within a percent or two one way or the other. This is making me optimistic that the eggs will hatch well. I’m sure there will be egg/incubator update posts throughout the 21 days I wait anxiously for those eggs to hatch. Cross your fingers for me all goes well!
If this thing works, and I really hope it does, I’ll be back to write a full tutorial with links to purchase parts and pieces so you can make one too. I don’t want to lead someone down the path of disappointment though so I’m going to make sure those eggs hatch first!
Stay tuned for that tutorial post!
What’s Next?
The Reason I Didn’t Build an Egg Turner

Not long after I finished the styrofoam incubator, I was gifted this awesome commercial beverage fridge by a member of my local Buy Nothing Canada group on Facebook (go join the group for your area right now, they are awesome!). I’m planning to pull out all of the cooling mechanisms, replace them with a heater, keep the lights and fans, build some egg turners and turn it into a miniature version of a GQF Sportsman incubator. It will hold 144 eggs and with 3 trays I can hatch 48 eggs per week consistently through hatching season. When one shelf of eggs hits the lockdown period, I will move them out of the fridge incubator and into the styrofoam one that I will use as a hatcher going forward and then set a new batch of eggs in their place. Perpetual hatching and new babies each week!
Now, my foam box, admittedly, is not the prettiest but the mini-fridge incubator is definitely going to be. I’m going to cover the light up advertising space at the top with custom designed hen and chick graphics and I’ve got addressable LED light strips for rainbow lighting inside (because chickens obviously NEED rainbow lights to hatch lol). This old girl, my electronic Mama hen, just needs a name so I can add it to that graphic at the top but I’m stumped. What do you name an incubator?! The Eggcubator? The Hatchinator? The Henovator? The Broodinator? (I see a theme here) Please feel free to send me your witty suggestions on what to call her, I need all the help I can get!
Wanna know the best part of this project? I think I can manage this one for well under $200! It will only hold half of the maximum 288 eggs that a Sportsman incubator will hold but, at a tiny fraction of the cost, I’m definitely not going to whine about that.

